October 09, 2026



A family timeline wall does not need a long, empty corridor or a spare room. In a small UK flat or terrace, it can run up a stairwell, sit above a sofa, fill the alcove beside a chimney breast, or line the narrow wall between two doors. The point is not to archive every year. It is to choose a handful of dates and photos that tell the story you actually want to see each day. With a little planning, you can build something warm and personal without turning the hallway into a construction site.
Measure first. Note the width and height you can use, then check what else is on that wall: plug sockets, radiators, door handles, light switches, a picture rail or dado rail. A wall that looks empty in a photograph may be awkward in real life. Walk past the spot at different times of day. The best timeline wall is usually one you pass often—beside the kitchen table, at the bottom of the stairs, or on the landing. In a small home, think vertically. A narrow column can hold ten or twelve small frames if you keep the sizes tight. If you rent, read your tenancy agreement before fixing anything. Picture rails, picture ledges and removable adhesive strips are often kinder to walls, but they still need care.
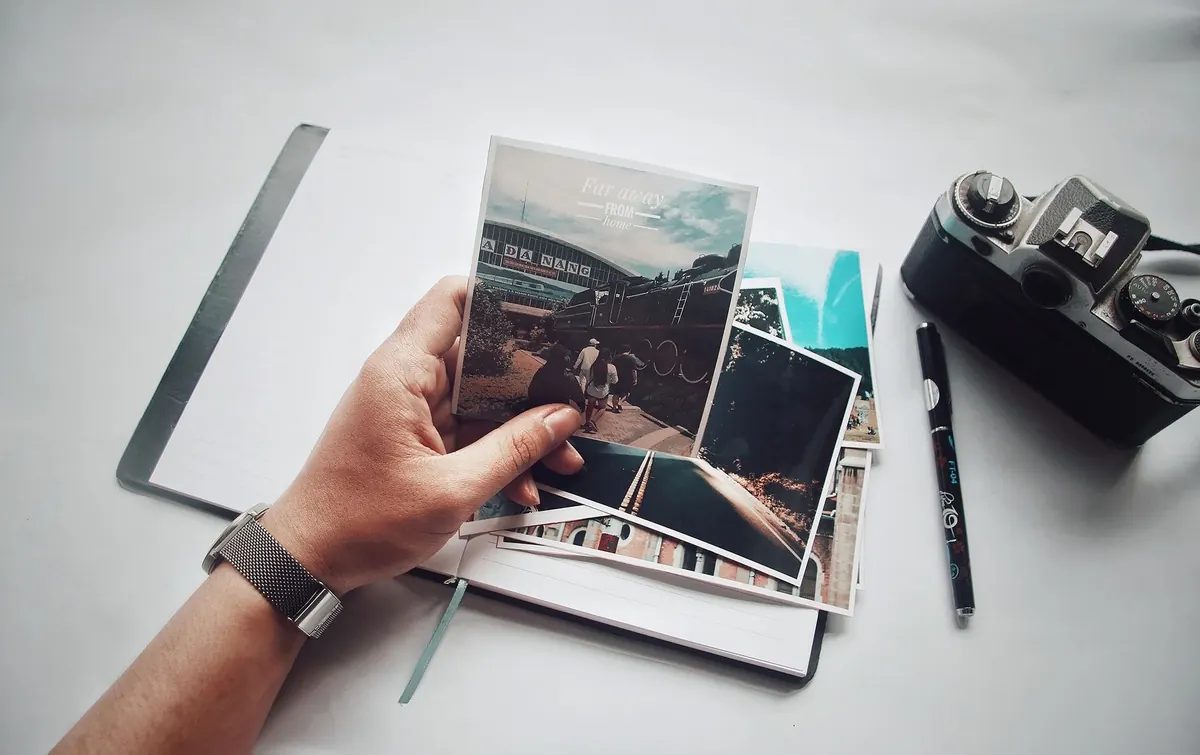
Start with moments, not photographs. Write down eight to twelve dates that matter: the day you met, a move, a birth, a graduation, a first home, a memorable trip, the arrival of a pet. A timeline can cover fifty years or a single summer. What matters is that each entry has a reason to be there. Use a consistent date format—14 June 2014, or June 2014—so the wall reads easily. If you have gaps, leave them. A timeline with breathing space is easier to take in than one crammed with every birthday and school photo.
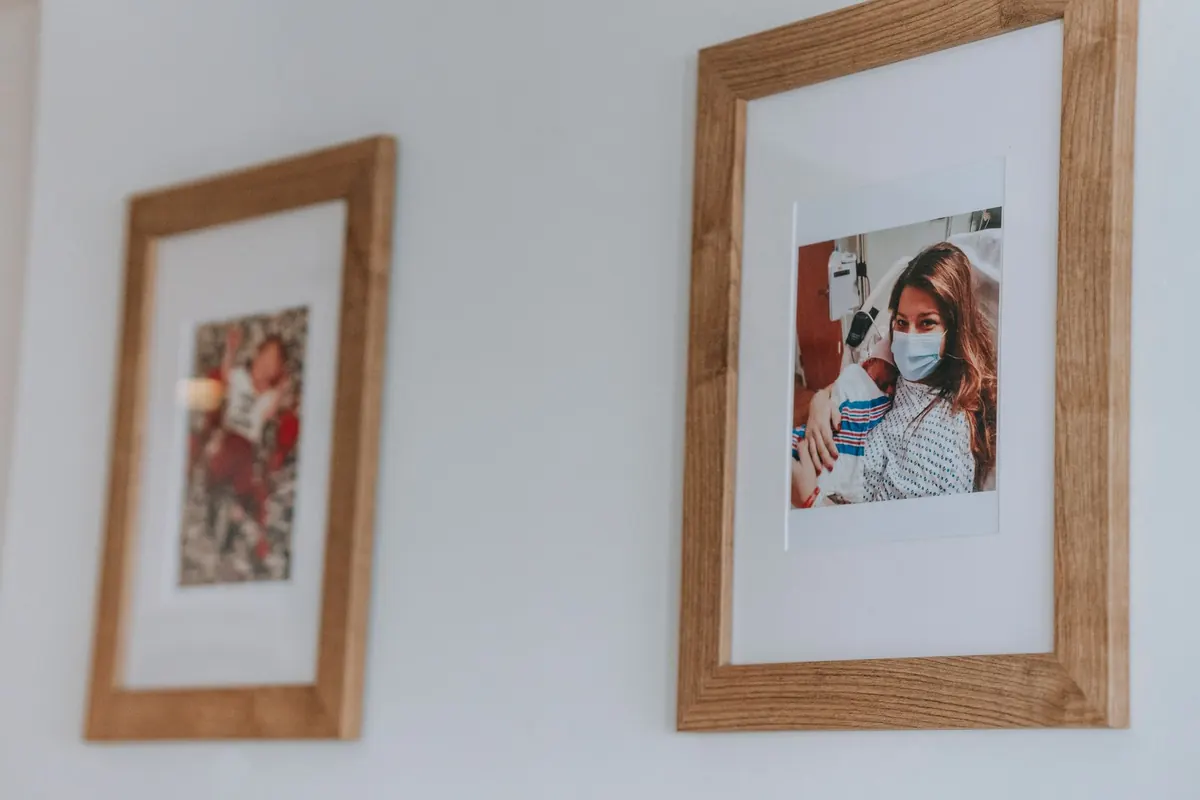
Small walls reward small prints. In the UK, 6x4 inch (15x10cm) and 5x5 inch square prints are easy to find and inexpensive to reprint. Use a 7x5 inch print for the few moments you want to anchor. Matte paper is usually better in hallways because it reflects less light than glossy. Crop tightly. At this size, a face needs to be recognisable without squinting. For labels, decide on one format and stick to it: a name, a date, a place, and perhaps one short line. “June 2012 — first flat, Leeds” tells a story. A paragraph does not. You can print labels on adhesive sheets, write on small cards, or use a fine liner on the mount. White borders give each photo room to breathe.
Keep captions short enough to read from a metre away. If you have to lean in, the label is doing too much work.
Cut paper templates to the size of your frames and tape them to the wall. Leave them there for a day. You will notice things you cannot see on a mood board: a plug socket, a wonky ceiling line, the way afternoon light hits the glass. Move the templates around until the story flows. As a rule, leave 5–8cm between frames, and keep either the centres or the top edges aligned. Mixing frame sizes is fine, but give the wall one steady element—matching frames, matching mounts, or a consistent print size.
Gather a tape measure, a spirit level, a pencil and the right fixings for your wall. Plasterboard needs hollow-wall fixings rated for the weight of the frame. Brick and stone need a drill and wall plugs. Older homes with lath and plaster can be fragile, so drill slowly and consider a picture rail or ledge instead. If you are unsure what your walls are made of or how much weight they can take, ask a qualified tradesperson. Renters should check the tenancy agreement first. Removable adhesive strips can work for lightweight frames, but test one on a hidden patch of paint before committing.
If you rent, test any removable adhesive strip on a hidden patch of paint first. It is better to find out it lifts emulsion in a dark corner than behind your favourite photo.Photo: Sarah Chai / Pexels
Preserve and share your life's memories.
Copyright © 2026 Memo Lane. All rights reserved. Memo Lane.